Wood floors are beautiful, timeless and elegant. But if you have oiled wood floors, cleaning them can be a tricky task. If not done properly, it can cause permanent damage to your floors. Fortunately, with the right technique and tools, you too can clean your oiled wood floors like a pro! Let’s take a look at how to clean oiled wood floors to perfection in no-time!
Step 1: Vacuum or Sweep the Floor
The first step is to vacuum or sweep the floor in order to remove any dirt or dust particles that may be stuck in the wood grain. This will help ensure that your floors are free of any debris before you begin cleaning them with water or other cleaning solutions. It is also important to note that vacuuming should only be done on dry surfaces—avoid doing this while the floor is still wet from mopping or water spills.
Step 2: Mop with Mild Soap and Water
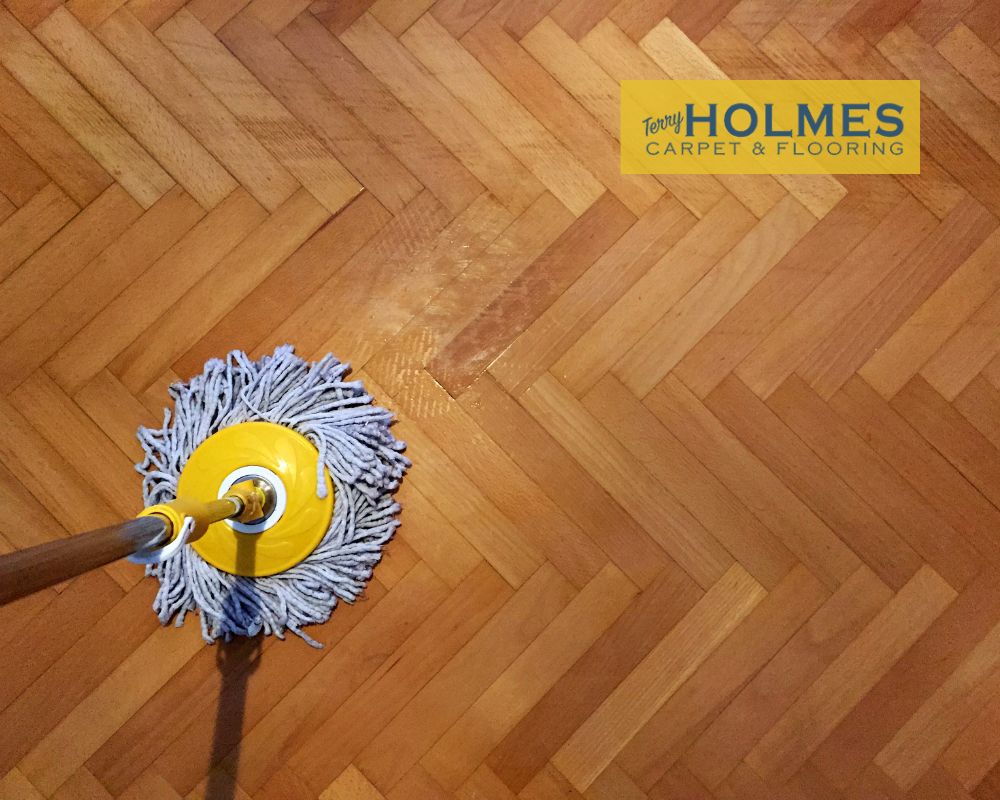
Mop your oiled wood floors using mild soap and warm water. Be sure to use a mop head specifically designed for hardwood flooring as traditional mops can damage the finish of oiled wood floors. You should also make sure to wring out excess moisture from the mop head before using it on the floor; otherwise, you risk leaving streaks or ridges in your floor’s finish from too much water.

Choosing the Best Types of Mops for Oiled Wood Floors
There are a few different types of mops that work well on oiled wood floors. Let’s break down the pros and cons of each type so you can decide which one is right for you.
Steam Mops – Steam mops are great at deep cleaning and sanitizing your hardwood floor without using harsh chemicals. They don’t require any scrubbing either – just fill with water, plug it in, and let it go! The downside is that steam mops can’t be used on unfinished or waxed hardwood floors because the heat will damage them.
Sponge Mops – Sponge mops are great at getting into tight corners and crevices where dirt and grime may have accumulated over time. However, they don’t do a great job on large areas since their sponges can be difficult to maneuver around larger surfaces. Additionally, sponge mops can be difficult to clean after use as they tend to retain dirt and bacteria more than other types of mops.
Microfiber Mop – Microfiber mops are a great choice for oiled wood floors as they do an excellent job of picking up dirt and debris without leaving behind streaks or residue. This type of mop is also very easy to clean after use – just throw it in the washing machine! The only downside is that these mops tend to be more expensive than other types of mops.
Step 3: Wipe Down with Mineral Spirits
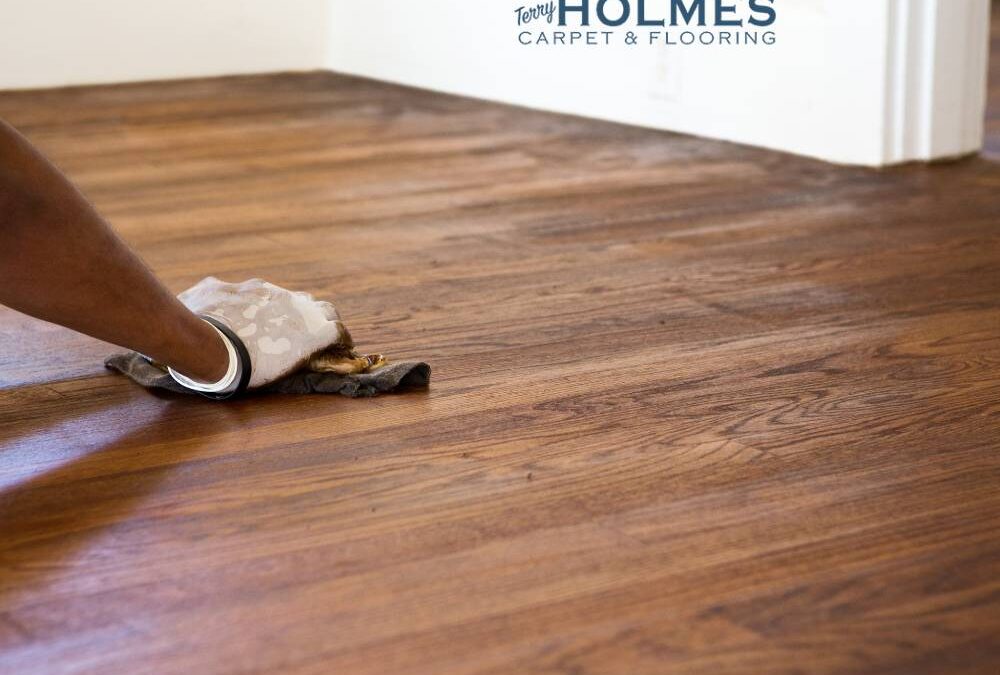
For tougher stains, try wiping down your oiled wood floors with mineral spirits and a soft cloth. Mineral spirits will help break down and remove grease and grime without damaging or discoloring the finish of your flooring—just be sure not to use too much of it as it can leave behind an oily residue if used in excess! Additionally, avoid using abrasive cleaners such as steel wool on oiled wood floors; they can cause more harm than good by scratching up the surface of your flooring and creating unsightly marks.
Keeping your oiled wood floors looking their best doesn’t have to be difficult! By following these simple steps – vacuuming/sweeping, mopping with mild soap and water, and wiping down with mineral spirits – homeowners everywhere can keep their hardwood floors looking brand new for years to come! With regular maintenance, you’ll have beautiful, shining hardwood floors that will last for generations – all without having to spend money on expensive professional services! So don’t wait any longer – get out there today and start giving those gorgeous oiled wood floors some TLC!

